[!ProTrack Warehouse Wiki^homepage-button_GRN_V3.png!]
Page History
...
- Pre-download WMS Assignments
- Assignments created in advance via the KVI Entry screen
- Assignments created at the Kiosk
...
- Log in to ProTrack Warehouse.
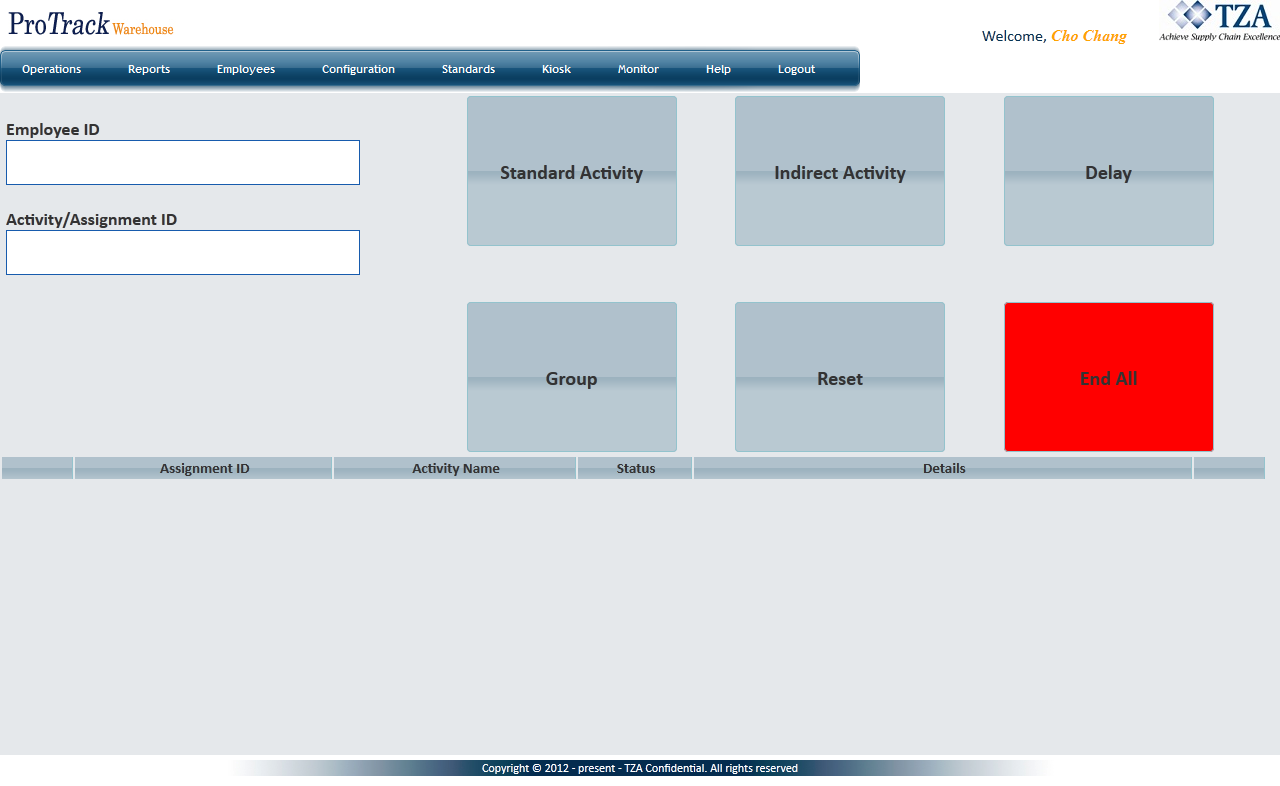
Select Work Assignment under the Kiosk menu. The Work Assignment screen appears.
Fig.1 Kiosk
Starting An Assignment
To start an assignment:
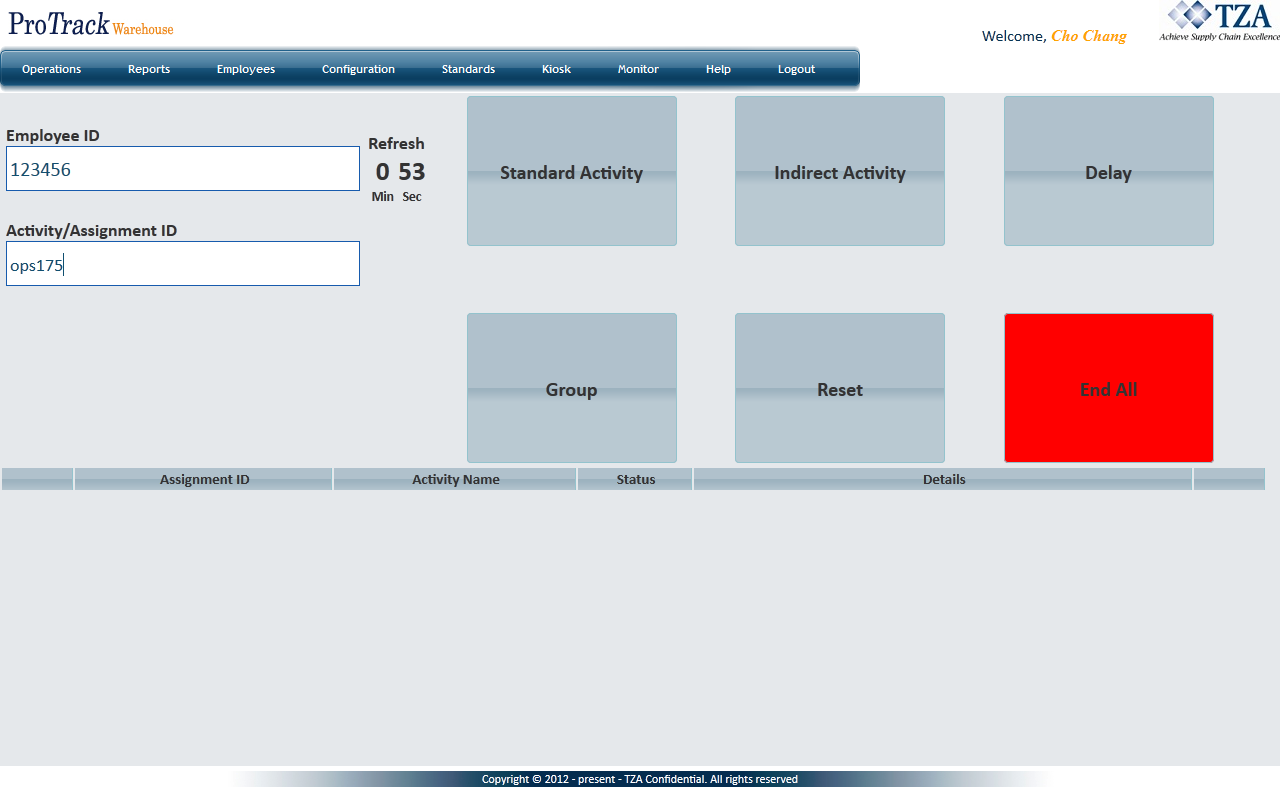
Enter your employee ID. If authentication is enabled, a popup window will appear asking for your ProTrack password (refer to Employee for kiosk authentication).Enter an assignment into the Assignment ID field.
- Enter an assignment into the Activity/Assignment ID field.
Fig.2 Kiosk - Starting Start Assignment
Navigate the cursor out of the Activity/Assignment ID field by clicking Tab to begin the assignment.
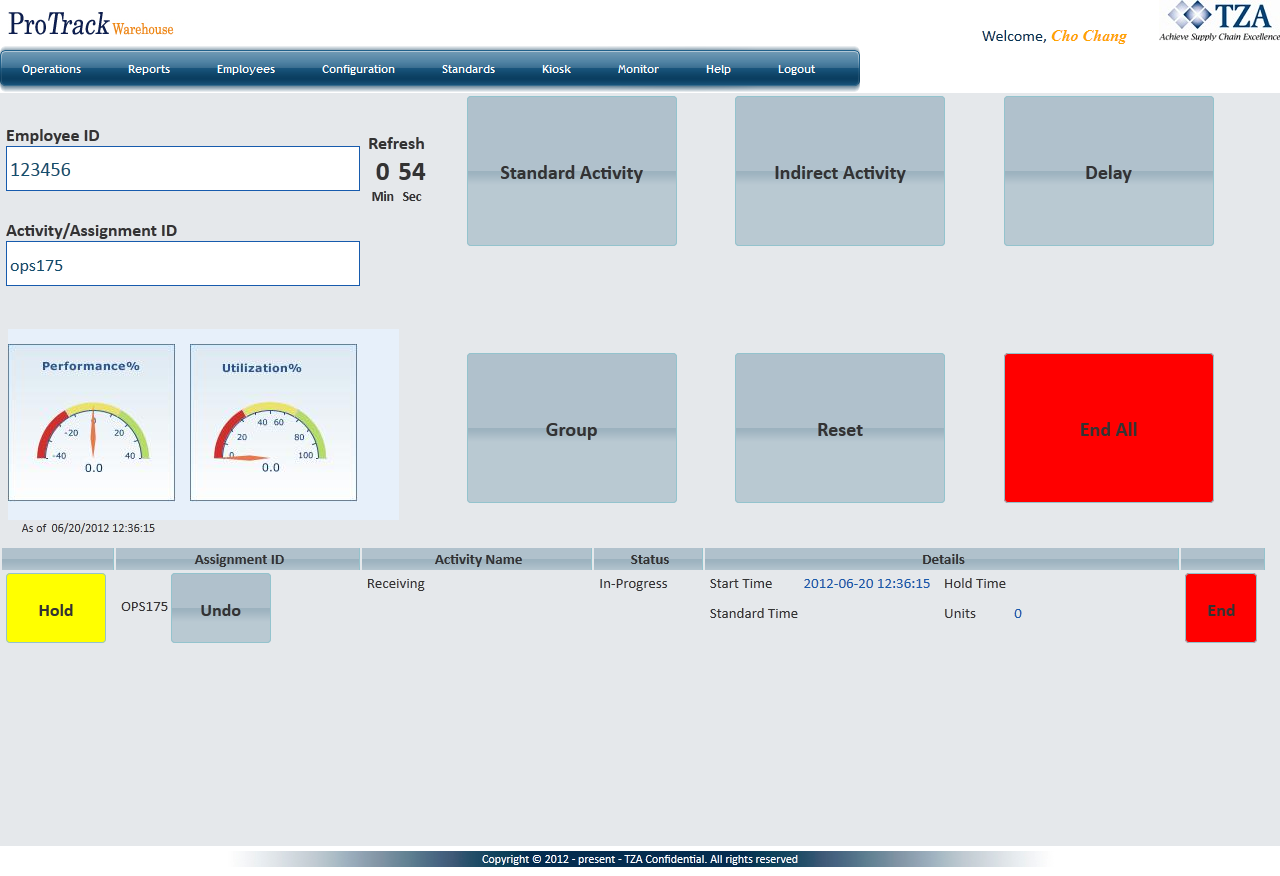
Click below the field. The status of the assignment will be set to In-Progress in the ‘Assignment Information’ section. The Standard Time for the assignment will also be displayed, assuming the Kiosk is configured to show standard time (refer to Work Info).
Fig.3 Kiosk - In ProgressInfo title Info - If there is any assignment that is currently In-Progress, starting this new assignment will simultaneously end the previous assignment. The end time for that assignment will be recorded as the same time the new assignment is created.
- Timer next to the employee ID displays the amount of time left before ProTrack will automatically end the session for the employee. The duration of the timer can be configured from the System Configurationscreen.
- There are two timers that are configurable:
- KIO_REFRESH_SEC - Timer displayed when the employee first logs into the kiosk.
- KIO_REFRESH2_SEC - Timer displayed after the employee signed into an assignment through the kiosk.
- There are two timers that are configurable:
If the standard time for the entered assignment has not yet been calculated (due to the assignment being recently imported), ProTrack will calculate the standard time “on-the-fly” and then display this standard time on the screen once it’s calculated. Typically this process only takes a few seconds, but may sometimes take longer. In either case, a “Not Yet Available” message will be displayed to the user; the user may either choose to wait for the time to be displayed, or can simply logoff before this process is completed.
Fig.4 Kiosk - Standard Not Yet Available
...
To end an assignment:
Click the Assignment ID link in the ‘Assignment Information’ section of the Kiosk screen. The Assignment ID field will be automatically populated with the in-progress assignment.
either the End All or End button.
Fig.5 Kiosk - End Assignment
Click in the ‘Perform Assignment’ section of the Kiosk screenInfo title Info - The Assignment ID can be manually typed in the Assignment ID field.
- End All button will end all assignments that are in progress and on hold.
- Clicking the End button on the right side of each assignment will end that individual assignment.
Holding & Resuming An Assignment
To put an assignment on-hold:
Click the Assignment ID link in the ‘Assignment Information’ section of the Kiosk screen. The Assignment ID field will be automatically populated with the in-progress assignment.
Hold button to the left of the assignment that will be put on hold.
Fig.6 Kiosk - Holding AssignmentClick . The status of the assignment will be set to HLD in the ‘Assignment Information’ section.On-Hold.
Fig.7 Kiosk - Holding An Assignment
Info title Info - Assignment Assignments can be Held today and Resumed tomorrow.
- Assignments left in Hold status will remain in Hold status forever until the employee ends the assignment.
To resume an assignment:
- Click the Assignment ID link in the ‘Assignment Information’ section of the Kiosk screen. The Assignment ID field will be automatically populated with the in-progress Resume button to the left of the assignment.
- Click . The status of the assignment will be set to In-Progress in the ‘Assignment Information’ section.
...
- Enter the shared Assignment ID in the Activity/Assignment ID field of the 'Perform Assignment' section of the Kiosk screen..
Navigate the cursor out of the Activity/Assignment ID field Click in the 'Perform Assignment' section and a new assignment will be generategenerated: the original assignment ID with a "-2" appended to the end.
Fig.7 Kiosk - Split Assignment
The new assignment ID is shown in the Assignment ID field of 'Current Assignment' section and the status of the assignment is set to INP in the 'Assignment Information' section.Info title Info - If the first and second employees have their split assignment on hold and the third employee ends their split assignment, it will end all the other associated split assignments as well.
- At least one employee must remain in INP or HLD status in order for other employees to join the same assignment. Once the assignment has been ended, no one can sign into that assignment again.
...
- Ensure that the employee has the capabilities to Group Assignments in the Kiosk (refer to Work Info).
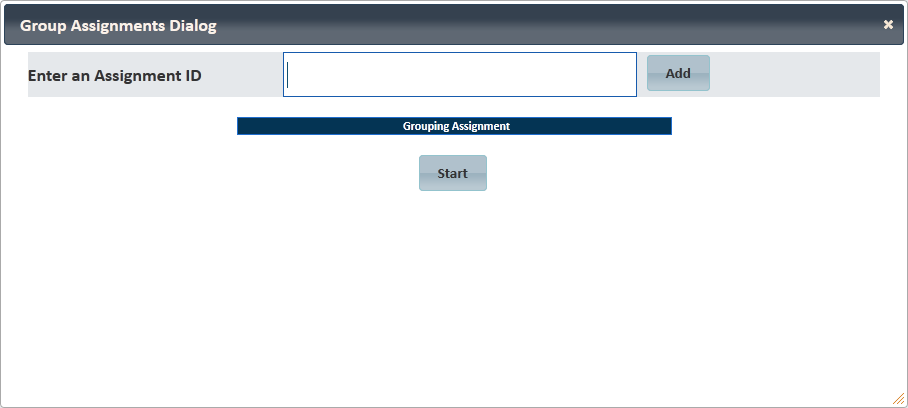
Click at the bottom of the screen. A popup screen appears.
Fig.8 Kiosk - Grouping Assignments- Enter an assignment and click .
Repeat until all assignments have been added.
Fig.9 Kiosk - Grouping Multiple AssignmentsTip title Tip - To remove an assignment from the group, click the Delete link next to the assignment.
Click to start the Group Assignment.
Fig.10 Kiosk - Grouped Assignments
...


