[!ProTrack Warehouse Wiki^homepage-button_GRN_V3.png!]
Page History
...
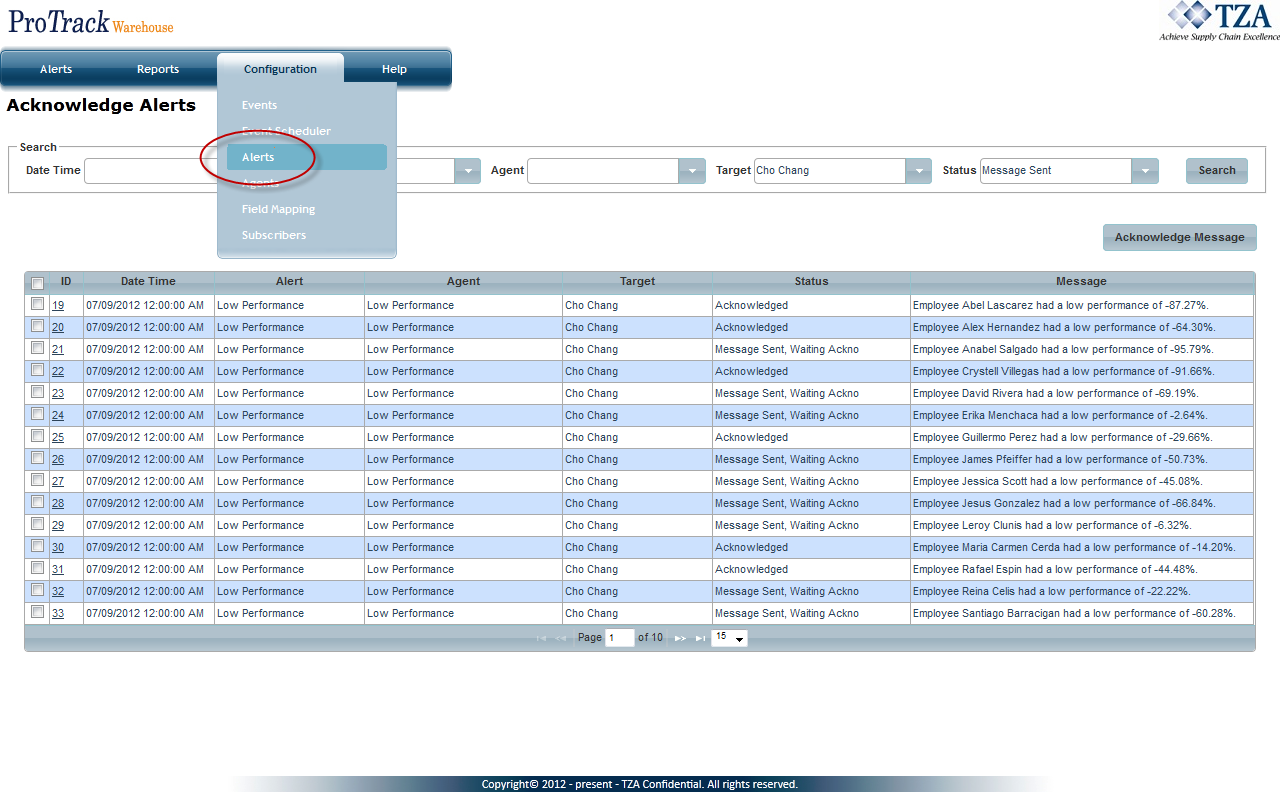
- Click on Alerts under the Configuration menu.
Fig.1 Configuring Alerts
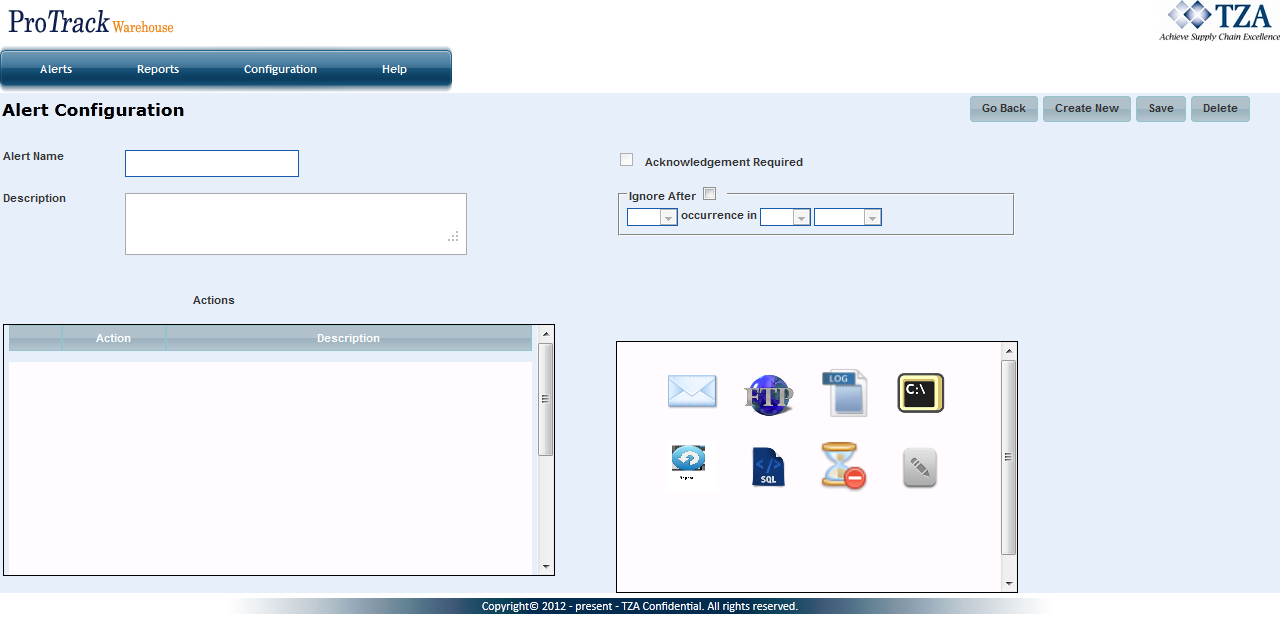
- Click on and the Alert Configuration screen appears.
Fig.2 Alert Configuration
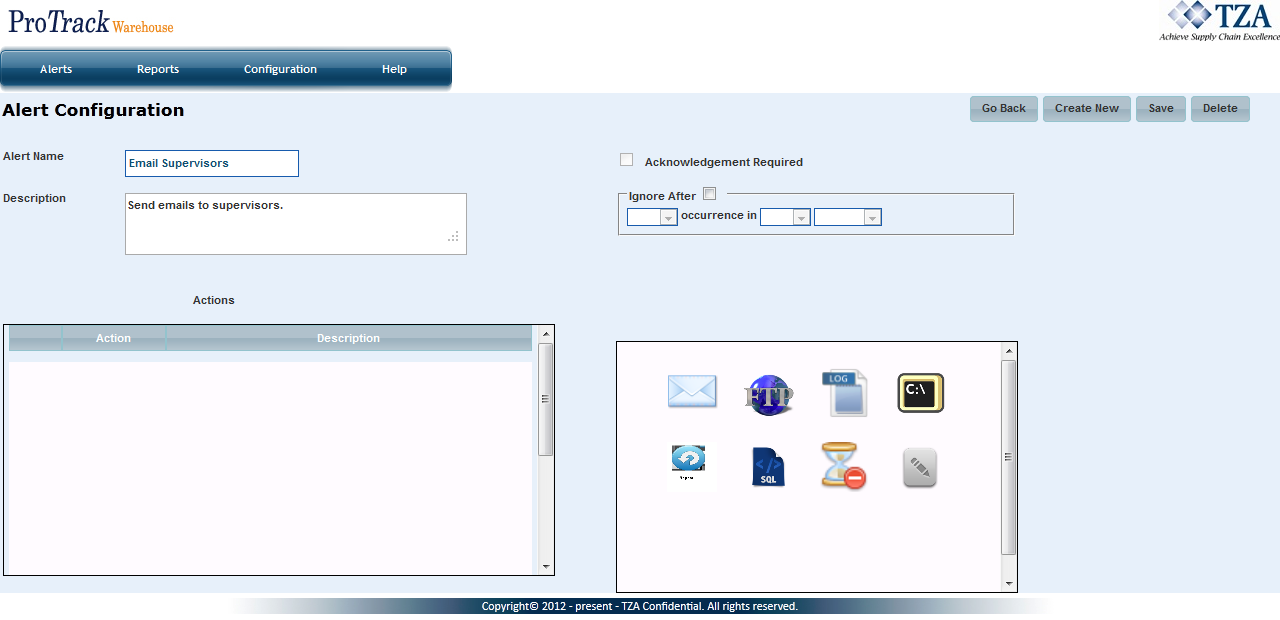
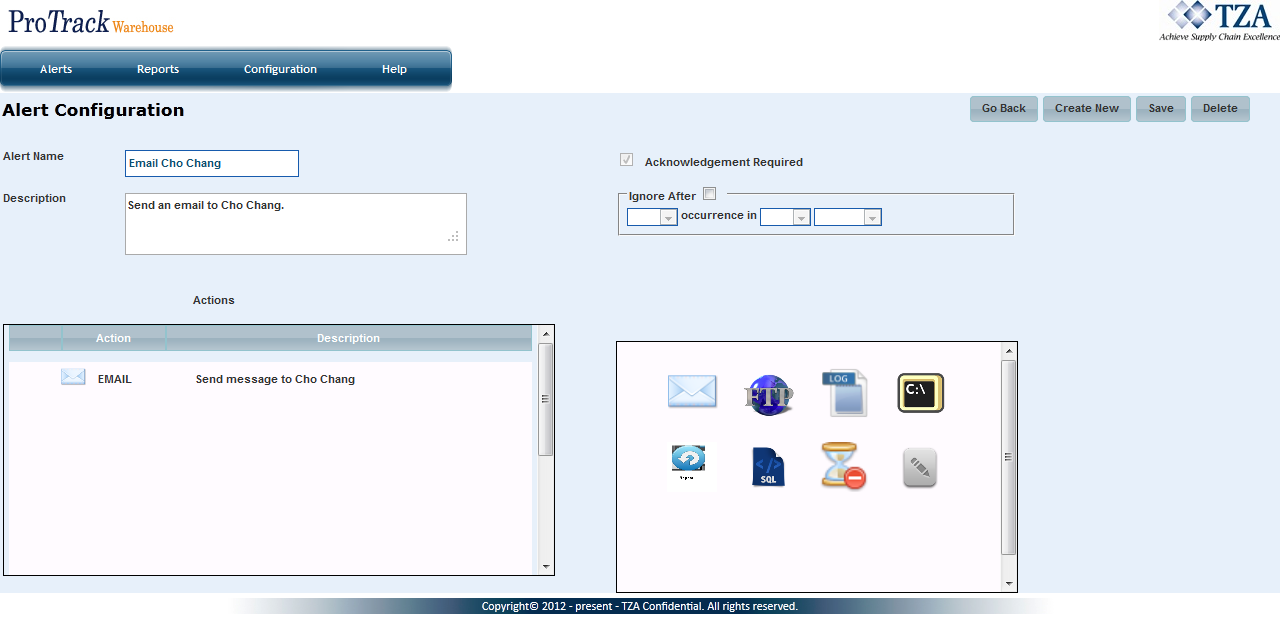
- Enter the Alert Name along with a Description.
Fig.3 Alert Name
Drag and drop the action this alert will execute from the right side box into the left side box.
Action Description Send an email or text message to a subscriber. This action can also execute a SQL statement and be included in the email. Sends or gets a file to/from another host via FTP. Writes an entry to the TZA_LOG database table. Executes a Microsoft Windows executable, such as a .bat file. Repeat last X steps N times before continuing. Run SQL statement, stored procedure; can save result value in a .csv file. Wait for a specified amount of time before continuing. Writes a text message to a file on the server. Table 1. Action Descriptions
Fig.4 Email Action
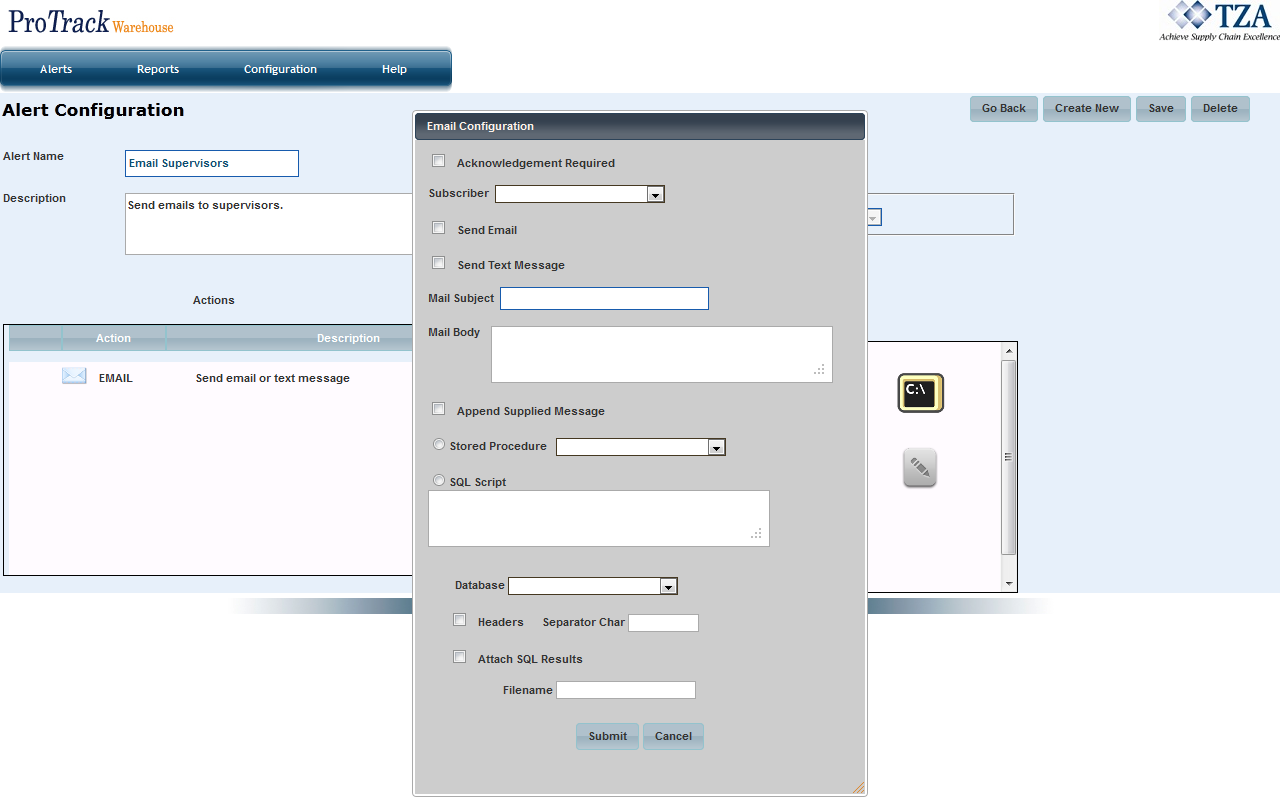
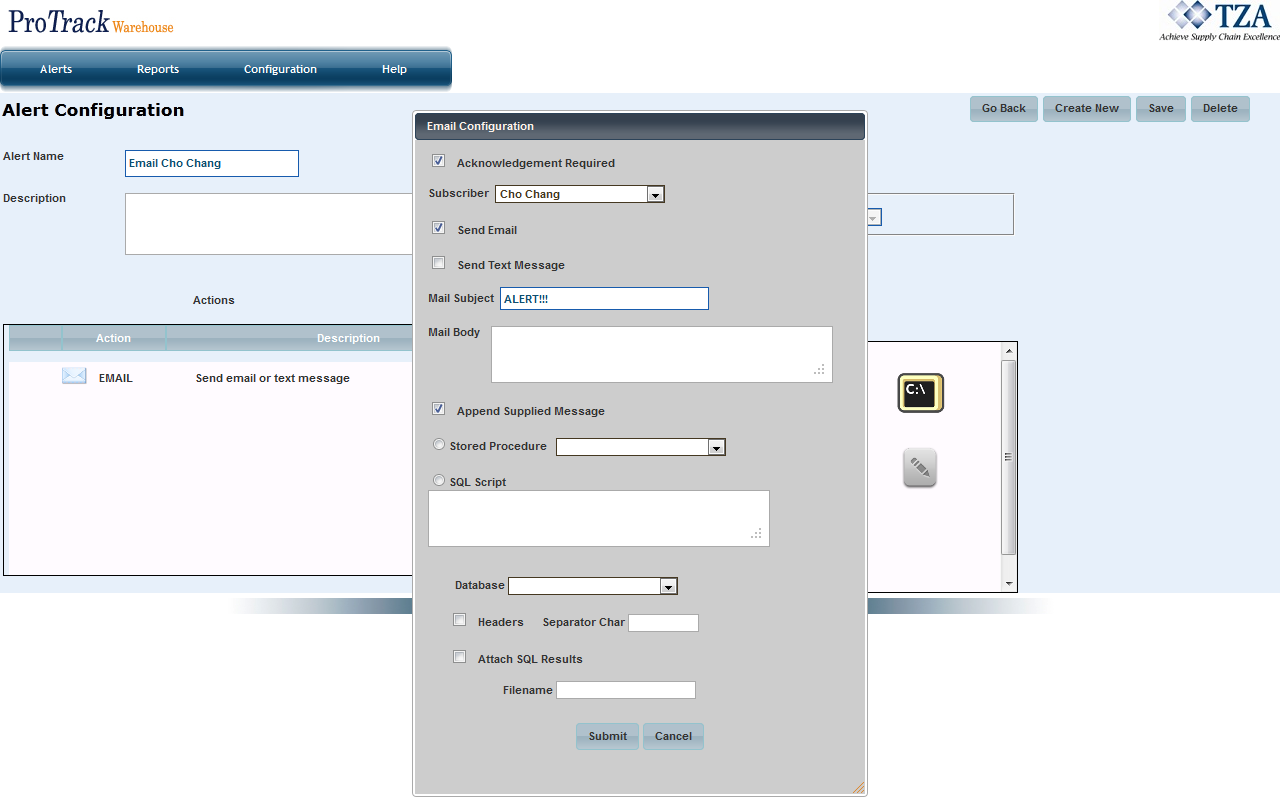
- Once the action has been dragged over, a popup window will appear.
Fig.5 Email Configuration
- Select the corresponding check boxes to configure the email. Enter the Mail Subject in the text box. The body of the email can be typed into the Mail Body text box or select Append Supplied Message check box to display the message configured in the Agent screen.
Fig.6 Email Configuration
- Once completed, click .
Fig.7 Alert Configuration
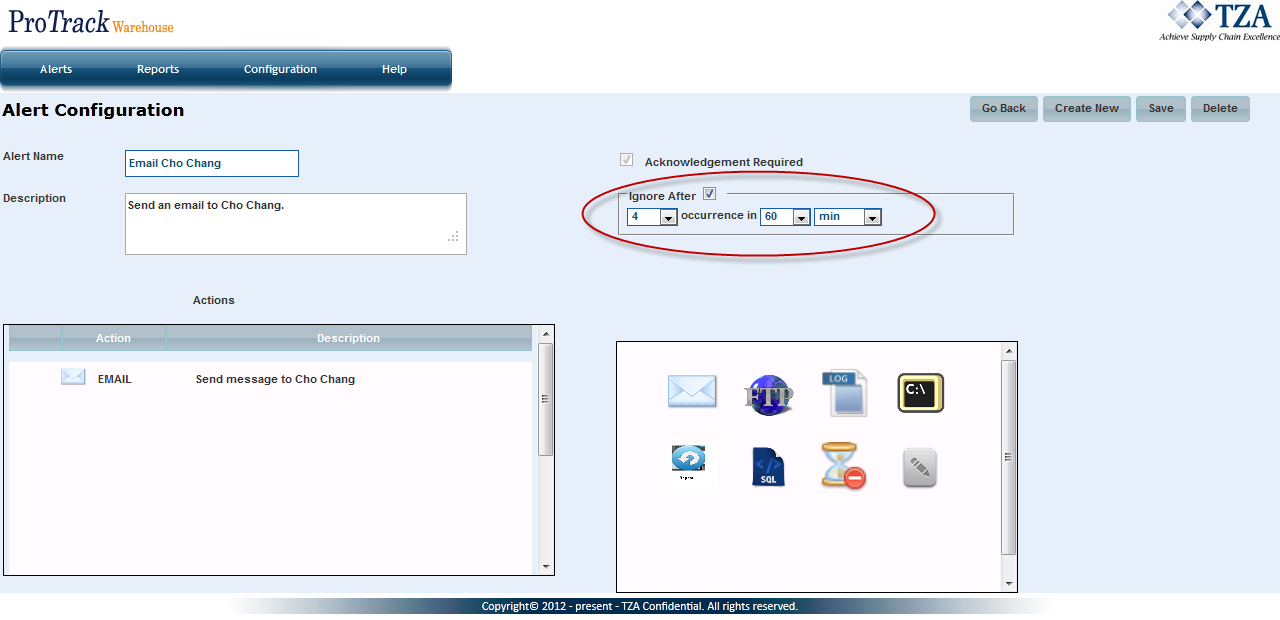
- The alert can be ignored after a certain amount of occurrences within a time frame.
Fig.8 Ignoring Alerts
- Click and the alert along with the configurations will be saved.
Overview
Content Tools
