[!ProTrack Warehouse Wiki^homepage-button_GRN_V3.png!]
Page History
...
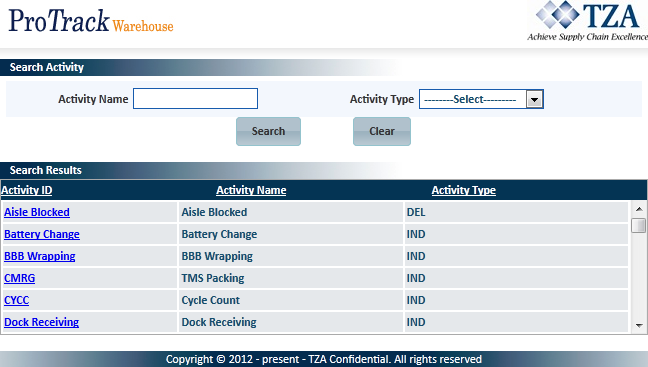
Click and select Activity Name. The Search Activity screen appears. Click the selected activity ID link. The Activity Name is updated in the Group delays screen.
Fig.2 Group Delay - Select Activity- Click and select the date.
- Type the Start time and Duration and their corresponding units of measure.
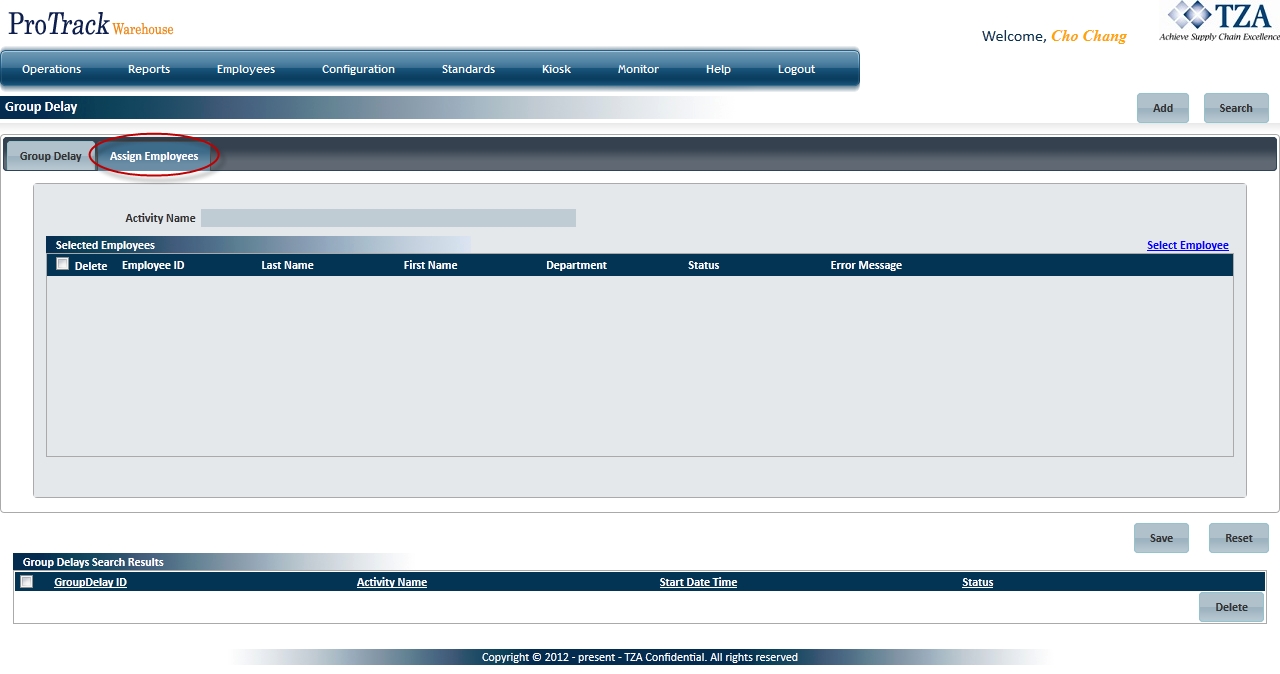
To assign employees to the delay, click on the "Assign Employees" tab.
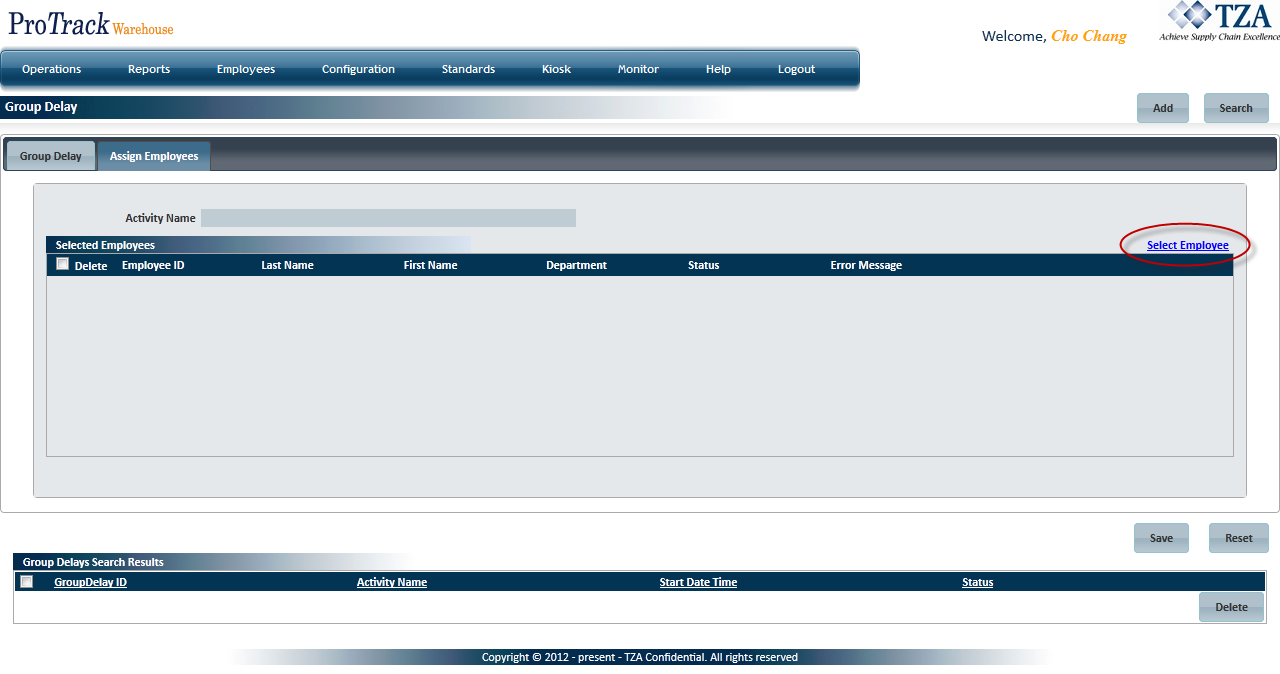
Fig.3 Group Delays - Assign EmployeesClick Select Employee link. The employees are listed in 'Search Results' section of the Search Employee screen.
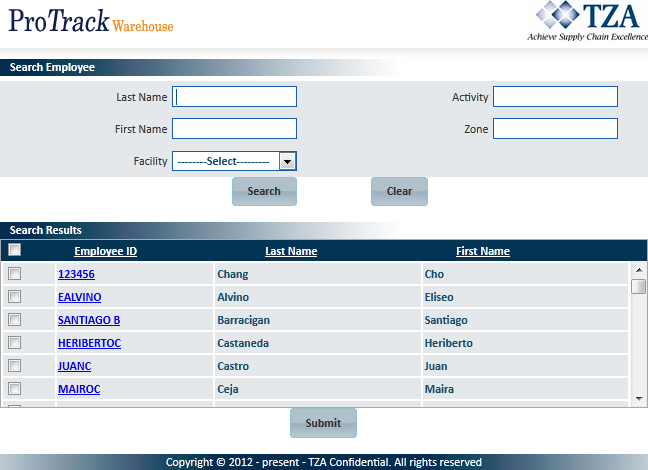
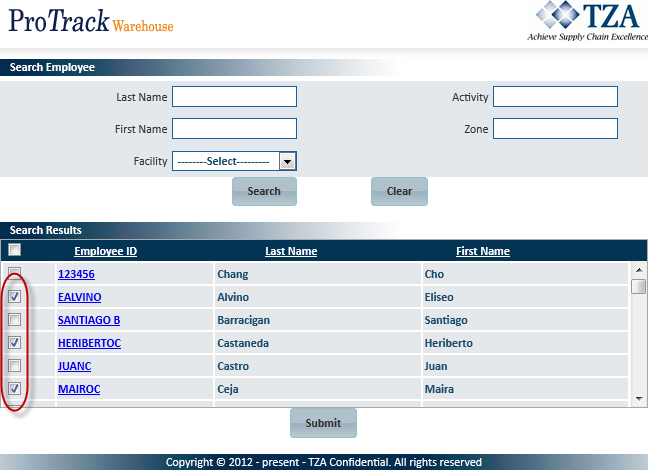
Fig.4 Group Delays - Select EmployeesInfo title Info - You can search particular records by selecting or typing Facility, First or Last Name, or Home Activity or Zone ID.
Fig.5 Group Delays - Search EmployeeSelect the check box of individual employees in the list.
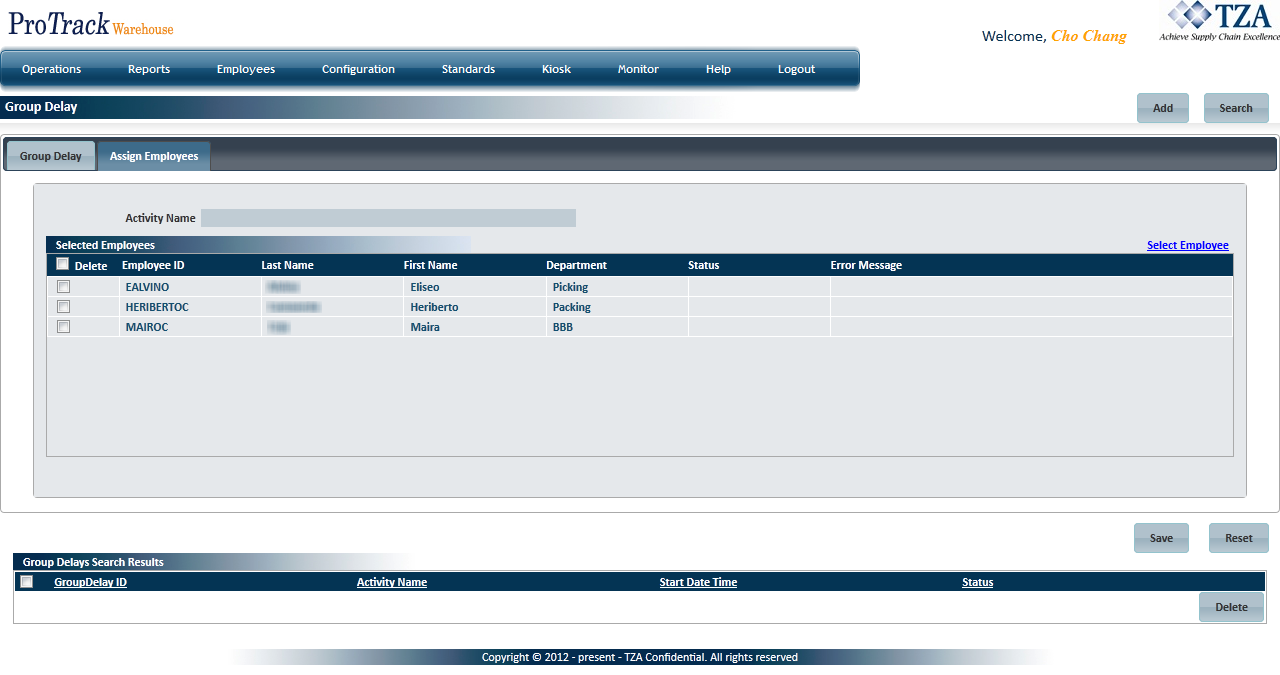
Fig.6 Group Delays - Select EmployeesClick and the selected employees will be listed in the 'Selected Employees' section of the Assign Employees tab.
Fig.7 Group Delays - Selected EmployeesTip title Tip - At this point in time, if you do not want to associate a Group Delay for selected employees, select the corresponding Delete check box for that employee.
Click . A scheduled task called "APPLY_GRP_DELAY" is created and scheduled to be executed.
Info title Info - The status of this request can be monitored via the Scheduled Request screen under the Monitor tab. As this request is being processed, each assigned employee will receive individual adjustments applied to their work schedule.
- The individual outcomes of applying the delay to each employee's work schedule can be monitored after the Group Delay is created. This is described below.
...
