
Page History
...
- Type the business unit name and ID.
- Click the 'Assign Region' tab.
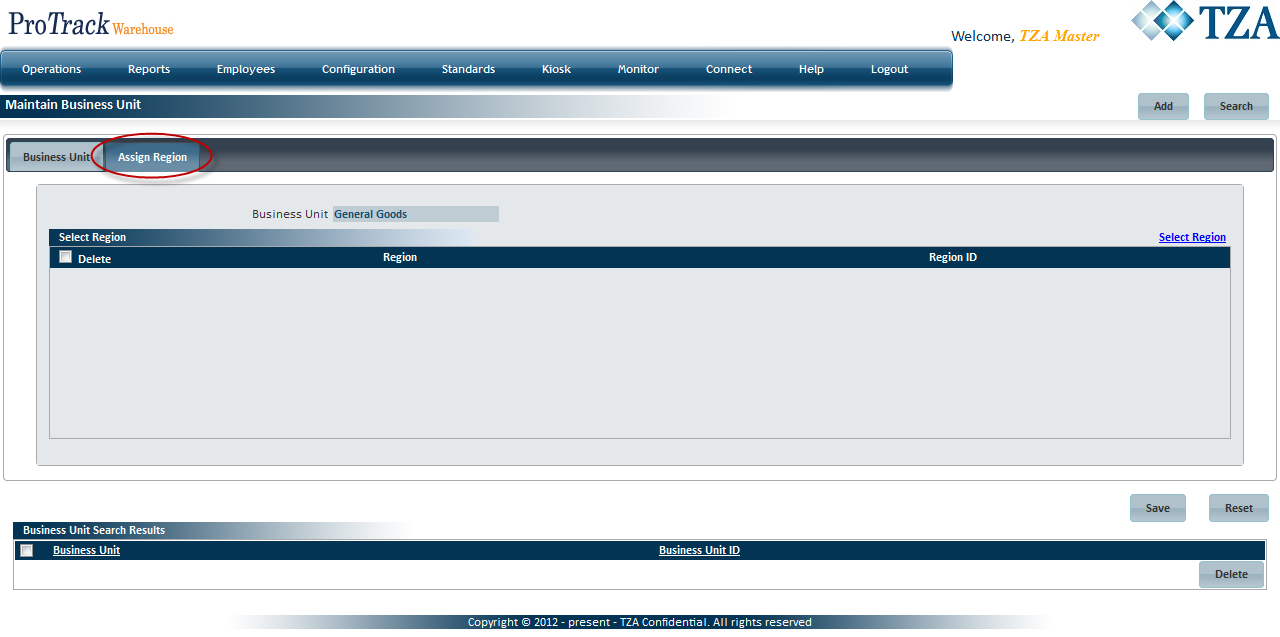
Fig.2 Business Unit - Assigning Region - Click 'Select Region' and a popup screen will appear.
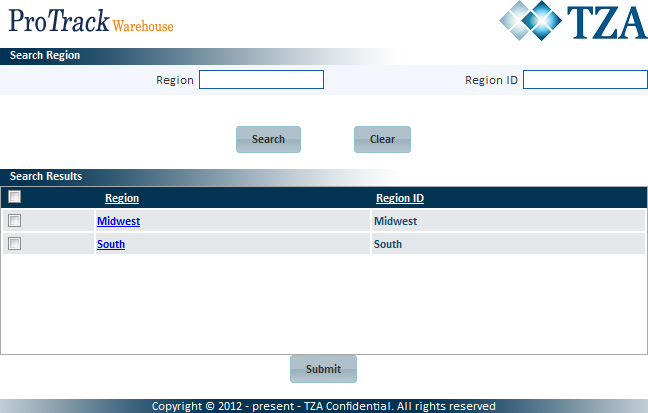
Fig.3 Business Unit - Selecting Region - Select the check box(s) of each region and click
.
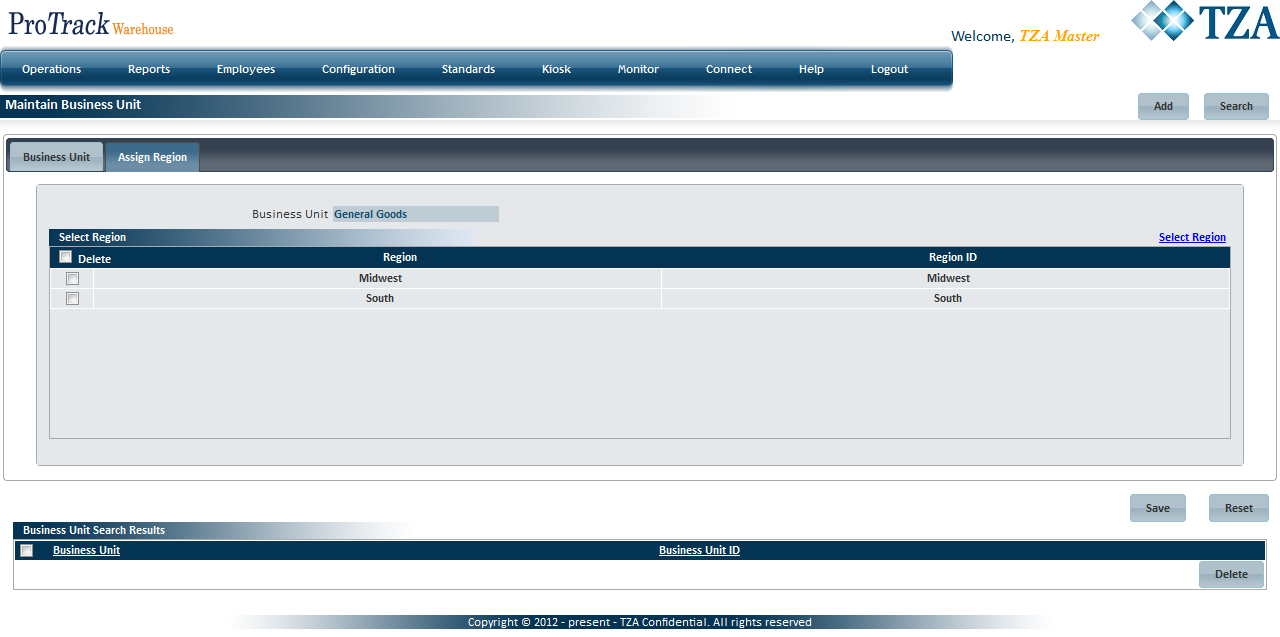
Fig.4 Business Unit - Selecting Region - Click
- To remove a region from the business unit, select the corresponding check box for that region and click
Searching Business Unit
- Click
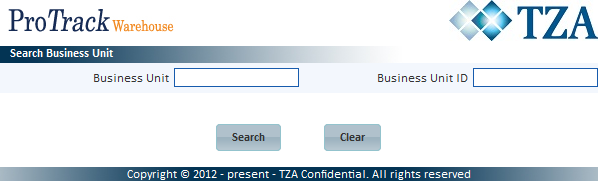
Fig.5 Business Unit - Searching To search for particular records, type the Business Unit name or ID.
Tip title Tips - To list Business Units with names starting with a particular character, enter the character into the field. For example, to search business units starting with the character 'C', enter 'C' in the Business Unit field to list units with names starting with C.
- If no search criteria are specified all the business units will be listed in the 'Business Unit Search Results' section.
- Click
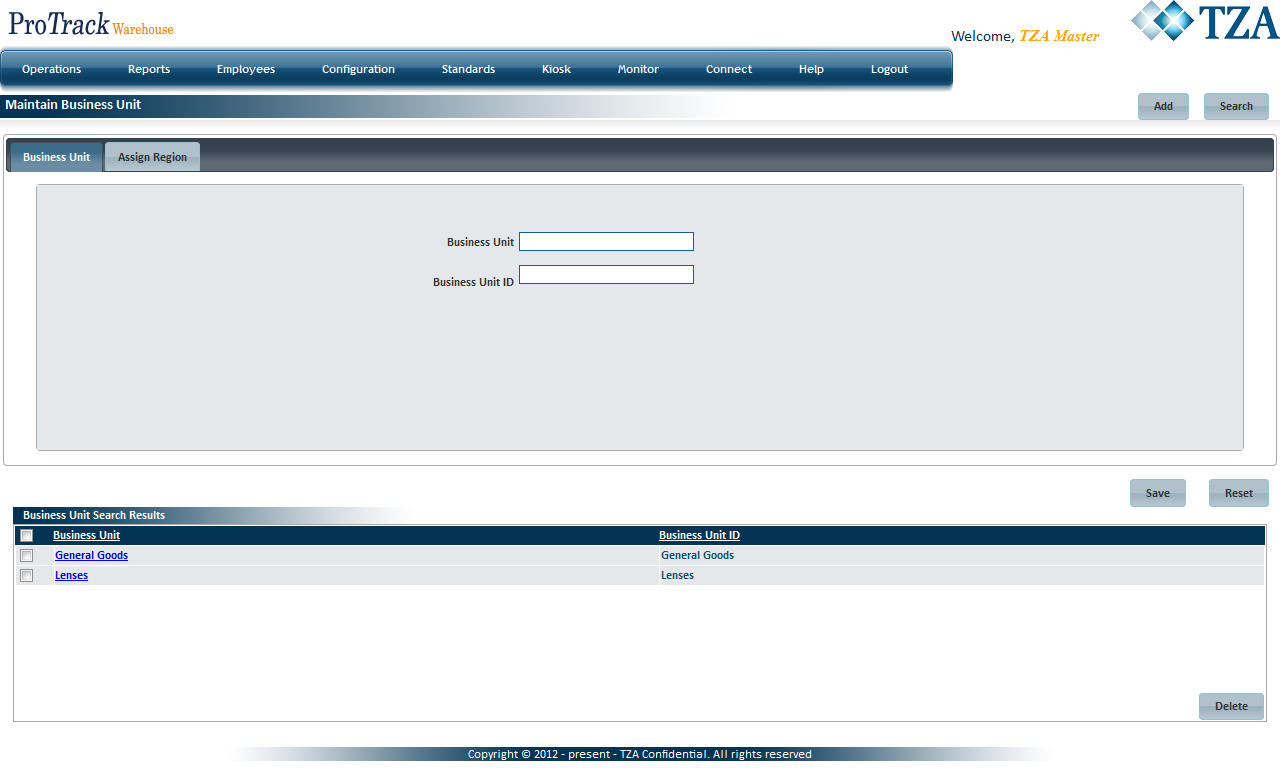
Fig.6 Business Unit - Search Results
Viewing & Editing Business Unit
Search and list the business unit(s) in the 'Business Unit Search Results' section.
Click the Business Unit link from the 'Business Unit Search Results' section. The details of the region appear in the corresponding fields.
Make any necessary changes to the business unit and click
Tip title Tips - If you have made the changes in the fields and do not want to save the details, click
 before you save the changes.
 - If you want to add an activity group at this point, click
 to clear the fields and to bring the screen to the add mode.
- If you have made the changes in the fields and do not want to save the details, click
Deleting Business Unit
- Search and list the business unit(s) in the 'Business Unit Search Results' section.
- Select the check box to the left of the Business Unit that will be deleted.

Fig.7 Business Unit - Deleting Business Unit - Click
Overview
Content Tools