Documentation for ProTrack Warehouse 7.5.
The Schedule Group screen allows creating, searching, viewing, and expiring schedule groups. A schedule group consists of a group of configured schedules that can be assigned to multiple employees simultaneously.
To access the Maintain Schedule Group screen:
- Log in to ProTrack Warehouse.
- Select Schedule Group under the Employee menu. The Maintain Schedule Group screen appears.
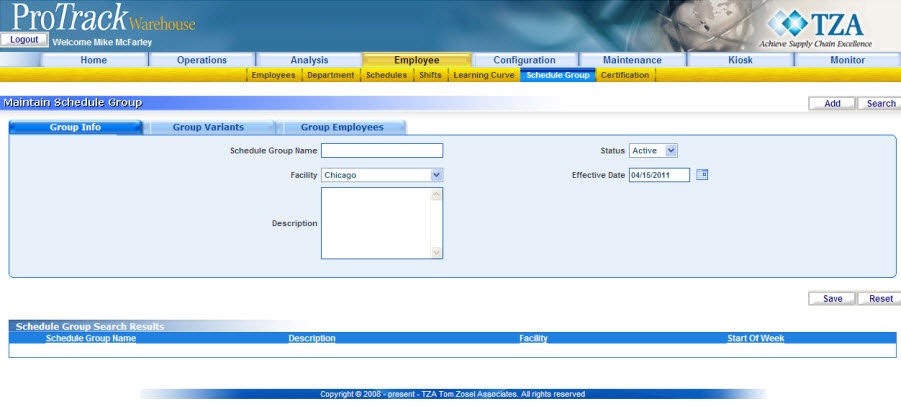
Fig.134 Maintain Schedule Group
Maintain Schedule Group Field DescriptionsTable 25. Maintain Schedule Group DescriptionsField
Description
Schedule Group Name
Specify a unique Schedule Name, which is alphanumeric. (Combination of Alphabets and Numbers)
Description
Type the Description of the facility not greater than 250 characters.
Facility ID
Select the facility this Schedule Group will be associated with.
Start of Week
Select the day of the week that starts this Schedule Group. If the work week is Monday to Sunday then select Monday.
Add Button
This is used to create a new Schedule Group.
Maintain Schedule Group TabsTable 26. Maintain Schedule Group Tabs DescriptionTab
Description
Schedule Group
Displays the details of the Schedule Group.
Variant
Displays Schedules assigned by day and graphical representation of the Schedule Group.
Assign Employee
Displays the Employees assigned to the selected Schedule Group.
Adding A Schedule Group
To add a new Schedule Group:
- Enter a name for the schedule group.
- Select a facility from the drop down list.
- Select the status of the schedule group, either Active or Inactive.
- Click !Calendar.jpg to set a date the schedule group will be active.
- Click on 'Group Variants' tab.
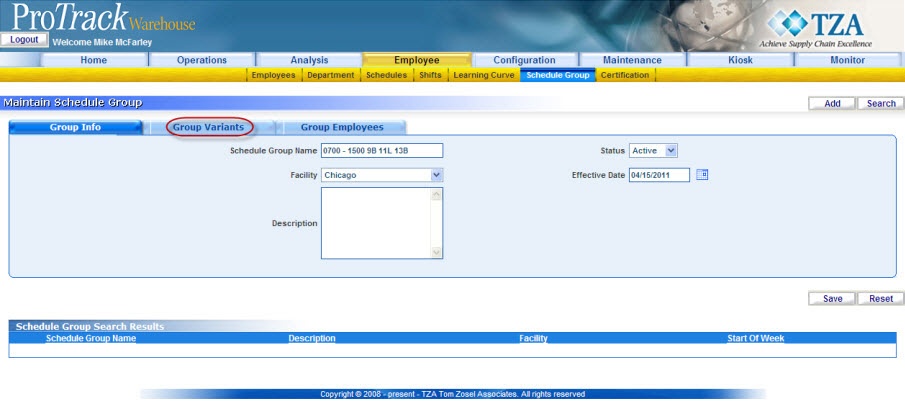
Fig.135 Maintain Schedule Group - Adding Schedule Group - Click
 and a new record will appear under the 'Variant Details' section.
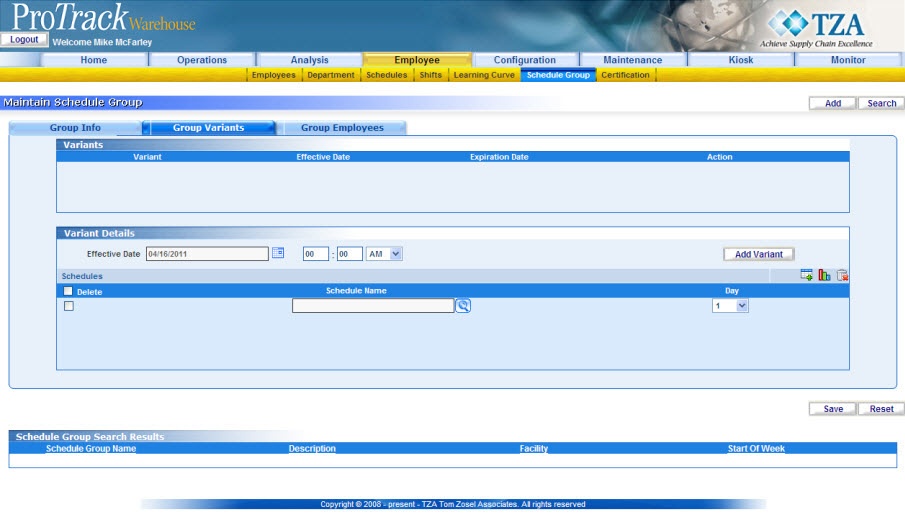
Fig.136 Maintain Schedule Group - Adding Variant Details - Click
 and a popup window will appear.

Fig.137 Maintain Schedule Group - Search Schedule - Select the schedule from the list and this will automatically populate in the 'Variant Details' section under Schedule Name.
- Select the number that corresponds to the day of the week you want to assign this schedule to from the drop down list.

Fig.138 Maintain Schedule Group - Select Day Of Week - Repeat this process for each day of the week.
Info
- Start of week will always be Monday.
- Day of week begins on Monday as 1, Tuesday as 2, Wednesday as 3, Thursday as 4, Friday as 5, Saturday as 6, and Sunday as 7.
- To create split schedules within the same day, you can have two variant details with the same day of week number.
The expiration date of the Variant is open ended until the next Variant is created. The new effective date will establish the expiration date and time of the previous Variant.
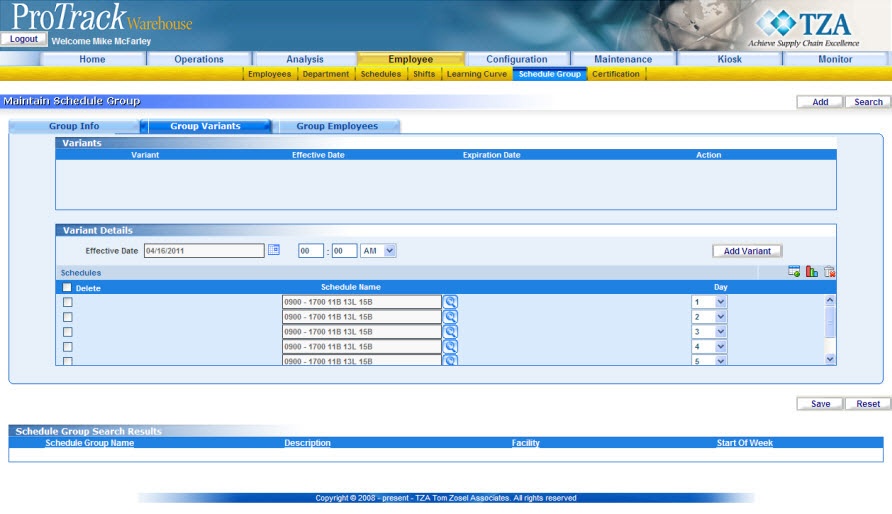
Fig.139 Maintain Schedule Group - Variant Details - Click
 to create the schedule group.
 - To see a graphical view of the schedules by day, click
 .
.

Fig.140 Maintain Schedule Group - Graphical Schedule View - If any conflicts are depicted then these need to be addressed via the Schedules screen before any transaction data is processed.
Adding Employee To A Schedule Group
To add Employees to a Schedule Group:
- Select the Group Employees tab of Maintain Schedule Group.
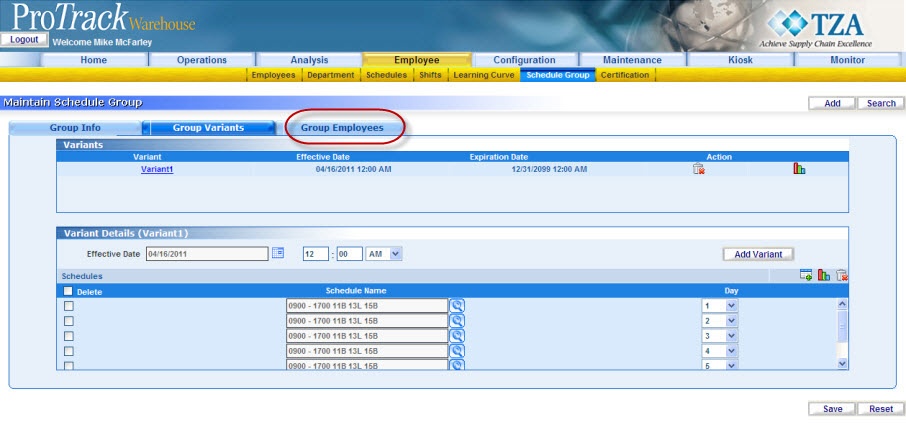
Fig.141 Maintain Schedule Group - Group Employees - Click
 to add employee(s) to the schedule group. A popup window will appear.
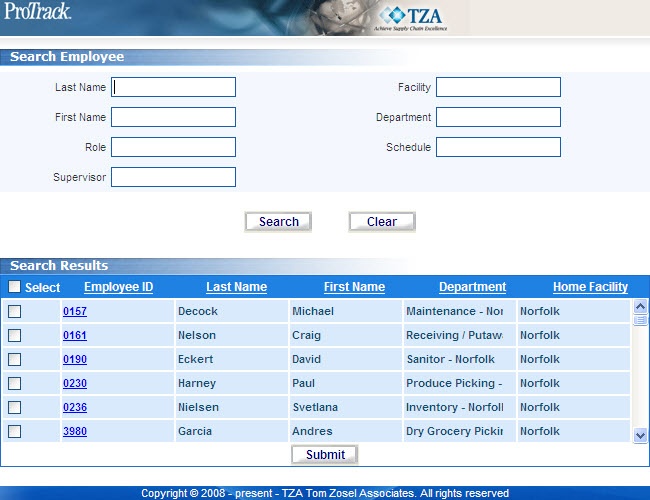
Fig.142 Maintain Schedule Group - Select Employees - Select the employee(s) and click
 .
. - The employee(s) will appear at in the 'Employees' section with a default Effective Date of tomorrow's date and a default Expiration Date of 12/31/2099.
- If needed you can change these dates one-by-one, or you may bulk-edit the Effective Dates by first selecting the check boxes to the left of the employees' names you would like change and then clicking
 .
.

Fig.143 Maintain Schedule Group - Select Effective Date
- Click
 to select the desired Effective Date and click . The Effective Dates for the selected employees are updated.
 - Click to save the employees to the schedule group.
Searching Schedule Groups
To search for particular shifts:
- Click
 in the Maintain Schedule Group screen and a popup window appears.
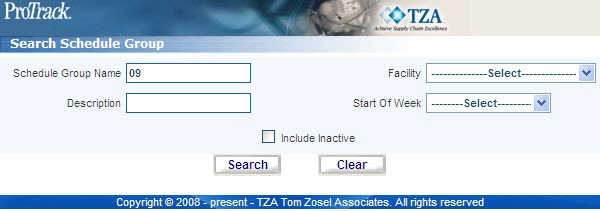
Fig.144 Maintain Schedule Group - Searching Schedule Groups - Type or select any of the search criteria: Schedule Group Name, Description, or Facility.
Tip
- Type the first character of a schedule group to list all the schedule groups starting with that particular character. For example, to search the schedule groups starting with the character '9', enter '9' in the Schedule Group Name field to list schedule groups such as '900 - 1700 11B 13L 15B'.
- If no search criteria is specified, all the schedule groups will be listed in the 'Schedule Group Search Results' section.
- Click in the Search Schedule Group screen. The records matching the selected criteria are listed in the 'Schedule Group Search Results' section of the Maintain Schedule Group screen.
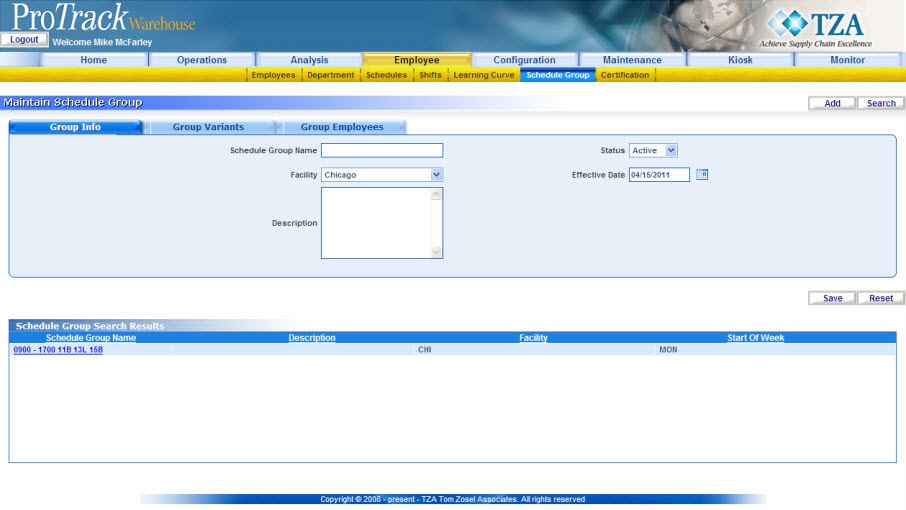
Fig.145 Maintain Schedule Group - Search Results - Click on the Schedule Group Name link of the schedule group you would like to view. The details will populate in the appropriate fields.
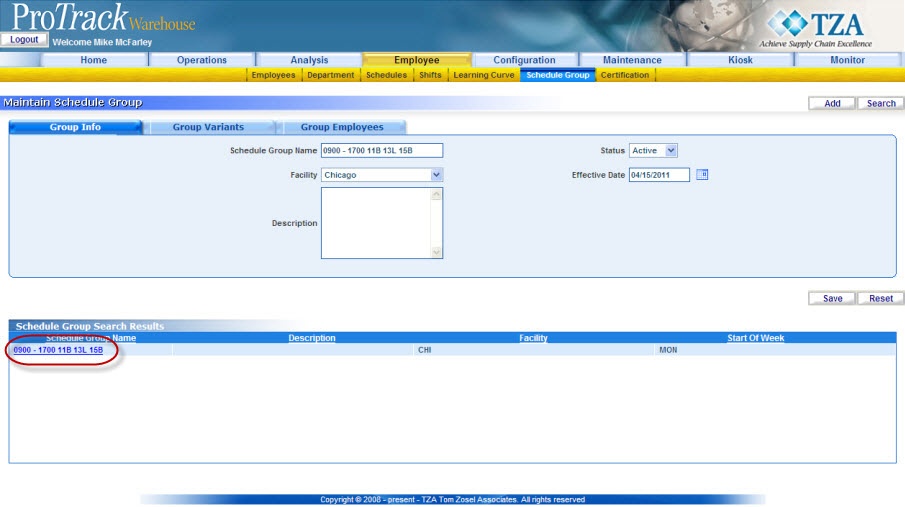
Fig.146 Maintain Schedule Group - Search Results
Overview
Content Tools