[!ProTrack Warehouse Wiki^homepage-button_GRN_V3.png!]
Documentation for ProTrack Warehouse 7.6.
Selectors define a set of criteria based on which a standard is selected. Selectors are used by data processing to select an appropriate standard to apply to an assignment task. The options in the Selector screen are available depending on the user privileges.
Info
- Selectors are re-evaluated on each task line of an assignment, so it is important that the WMS extraction data reflect how the standard is intended to be applied. Do not change Facility ID, Activity ID, Zone ID, etc. within a single assignment, otherwise the reporting will not be accurate.
To access the selector screen:
- Log in to ProTrack Warehouse.
- Select the Selectors tab under the Configuration menu and the Selector screen appears.
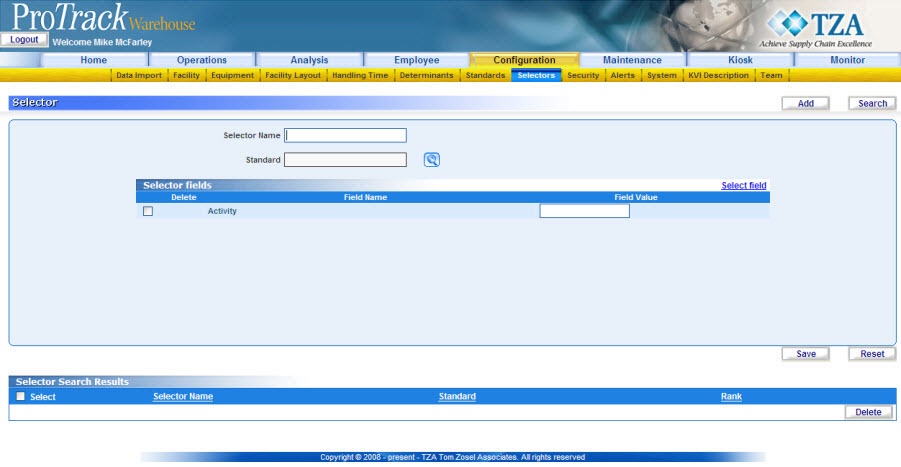
Fig.241 Selector
Selector Field DescriptionsTable 54. Selector Field DescriptionsField
Description
Selector Name
Type the selector name, which can be alphanumeric (Combination of Alphabets and Numbers).
Standard
Provide a unique alphanumeric standard ID by clicking
 .
.Rank
Type a rank by which the selector will be processed in the data processing module. This is a numeric field.
Field Name
Type the Field Name of the WMS import field.
Field Value
Type the Alphanumeric value for the field.
Adding Selectors
To add a new selector:
- Type a unique Selector Name and click to select the Standard ID. The screen Select Standard ID appears with Standard Name and Standard ID list.
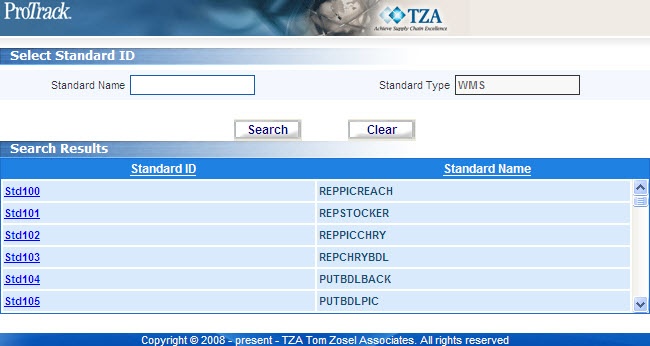
Fig.242 Selector - Search Standard - To assign a standard to the new selector, click the selected standard ID link. The selected standard ID is updated in the Standard field in the Selector screen.
- To assign fields to the selector, click the 'Select Field' link. The Select Fields screen appears with a list of existing Field Names.

Fig.243 Selector - Select Fields - Select the Select check box of the fields from the list.
- Click
 , the selected fields will be listed in the ‘Selector Fields’ section of the Selector screen.
 - To assign a field value, type the field values for the corresponding field names.
- Click
 to save the selector with the field details.
Info
- If you do not want to assign the selected fields, select the Delete check box of individual fields.
- Activity ID is the only mandatory field condition.
- The comparison is looking for an exact “case sensitive” match when alpha characters are used.
- When more than one selector field is selected, then all conditions must return true or the selector will not apply. The “and” is implied between conditions.
Searching Selectors
To search for particular standards:
- Click
 in the Selector screen and the Search Selector screen appears.
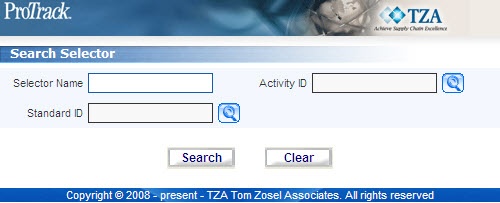
Fig.244 Selector - Searching Selectors - Type either Selector Name or click and select the standard ID or activity ID.
Tips
- To list Selectors with names starting with a particular character, enter the character into the field. For example, to search selectors starting with the character 'C', enter 'C' in the Selector Name to list selectors with names starting with C.
- If no search criteria are specified all the selectors will be listed in the 'Selectors Search Results' section.
- Click in the Search Selector screen. The records for the selected criteria are listed in the ‘Selector Search Results’ section of the Selector screen.
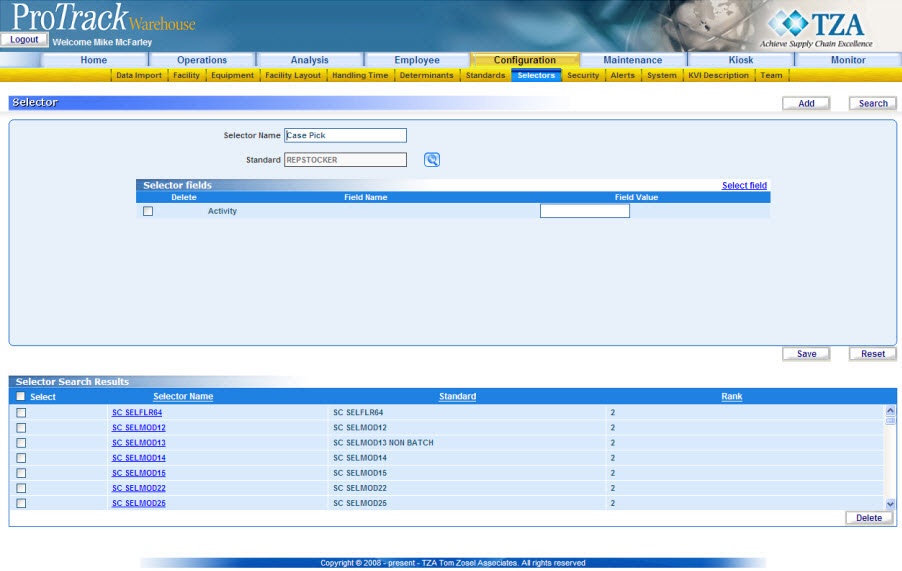
Fig.245 Selector - Search Results
Viewing & Editing Selectors
To view and edit the selectors:
- Search and list the selectors you want to view or edit in the ‘Selector Search Results’ section.
- Click the selected selector name link from the ‘Selector Search Results’ section. The details of the selectors appear in the corresponding fields in the Selector screen.
- Change the value of the fields, if required. If you want to add fields, click 'Select Fields' link.
- Click to save the changes.
Tips
- If you have made the changes in the fields and do not want to save the details, click
 before you save the changes.
 - If you want to add a selector at this point, click
 to clear the fields and to bring the screen to add mode.
 - These changes will only be applied to assignments worked after the changes have been made, unless
 on the Daily Inquiry screen is invoked.
 - Selector rank can only be edited through the database.
- If you have made the changes in the fields and do not want to save the details, click
Overview
Content Tools