[!ProTrack Warehouse Wiki^homepage-button_GRN_V3.png!]
Documentation for ProTrack Warehouse 2013 Q4.
Remove.jpgControl Screen provides the supervisors and managers the visibility to assign work, whether it be standard direct, indirect, and/or delay activities, and maintain employees on a single screen. This screen will also allow the supervisors and managers to add Delays that employees encounter as well as any indirect tasks.
Info
- Kiosk(s) must be created via Kiosk Config in order to use the Control Screen.
To access the Control Screen:
- Log in to ProTrackWarehouse.
Select Control Screen under the Operations menu. The Control Screen appears.
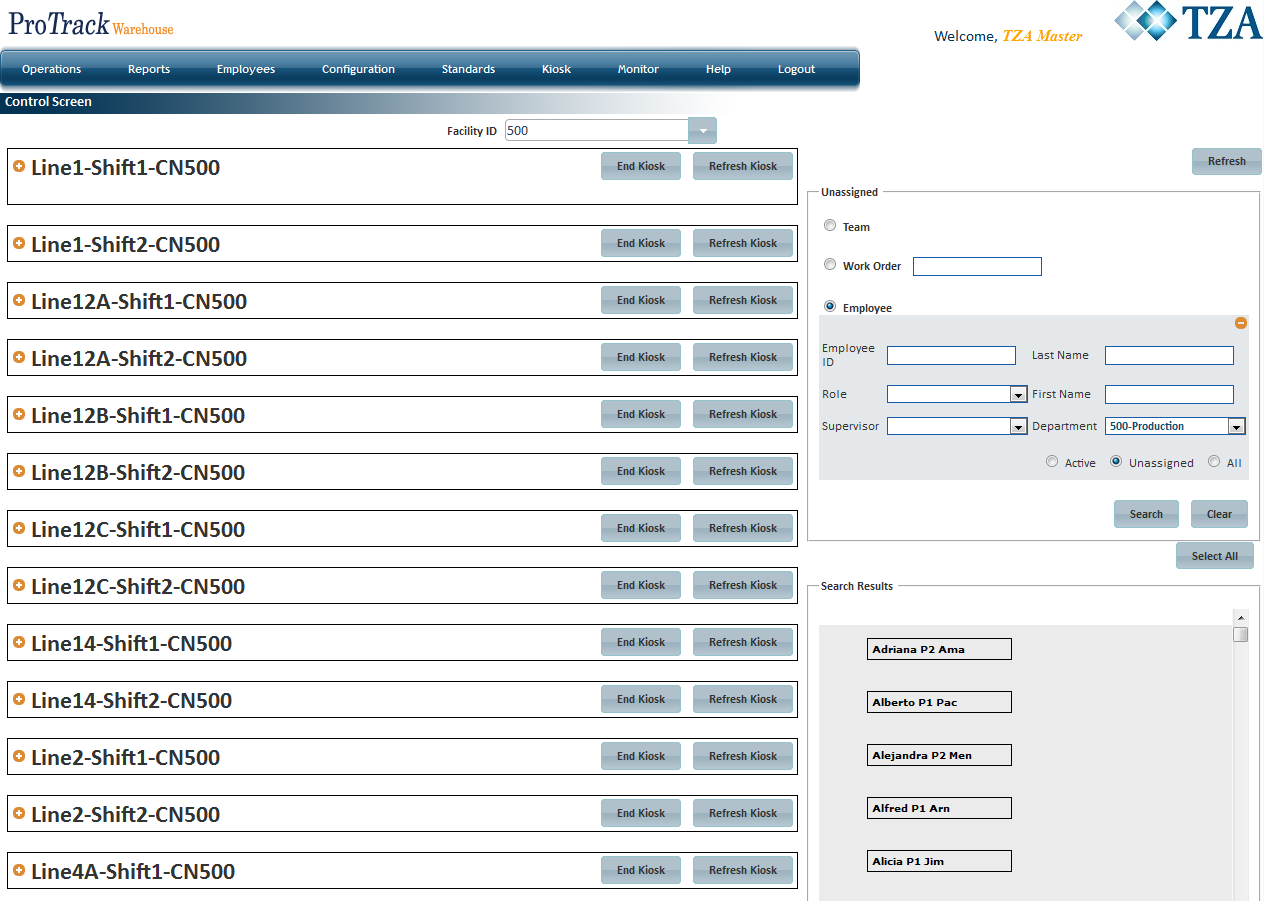
Fig.1 Control Screen
Assigning A Work Order To A Kiosk
- Click
 to expand the kiosk that will be used.
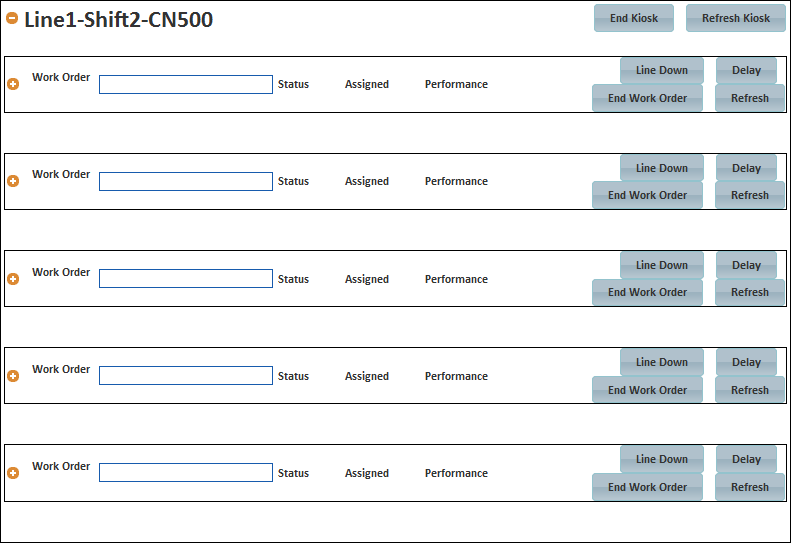
Fig.2 Control Screen - Expanding Kiosk - Enter the Assignment ID into the Work Order field and then move the cursor out of the field.
- If the Assignment ID exists (PRE-downloaded), then the assignment can be started right away.
- If the Assignment ID does not exist, then a popup will appear where the configurable reporting fields (i.e. wave #, batch #, etc.) must be filled in and the activity must be selected from the drop down list.
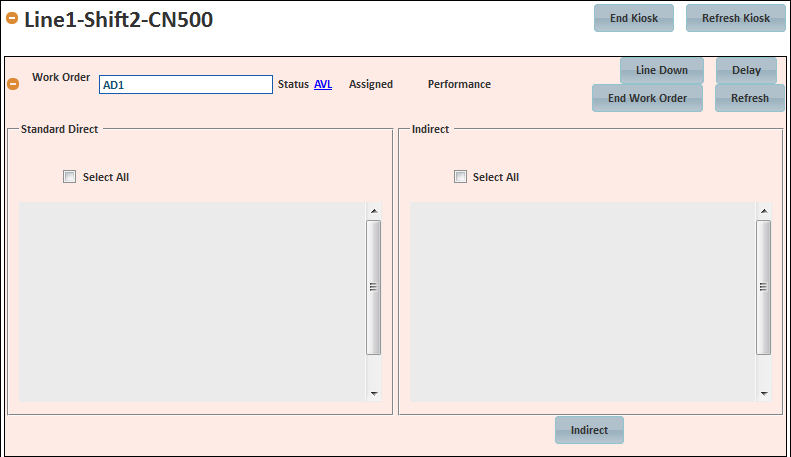
Fig.3 Control Screen - Starting A Work Order
Adding Employees To Standard Direct Activity
- Once the work order is ready (status will be in AVL, available), select and drag employee(s) from the right side of the screen into the Standard Direct section of the work order.
If needed, use the search option within the Unassigned section to narrow the list of employees to a specific group.
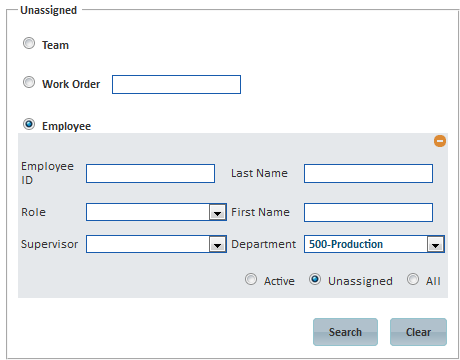
Fig.4 Control Screen - Unassigned Employee SearchField Description Team Lists all teams (grouping of employees) that have been created from the Team Config screen. Work Order Entering a work order will list all employee(s) that are working or have worked that order. Employee Enter search criteria to narrow the list of employees. - To move multiple employees at once, click the names of the individuals in the Search Results section and then drag into the standard direct section.

Fig.5 Control Screen - Selecting Multiple Employees - Once the employees have been dragged into the standard direct section, an assignment ID will be auto generated for each individual. Each assignment ID will have an appended " -#", these are considered as child assignments. The status of the work order will turn to INP (in progress).
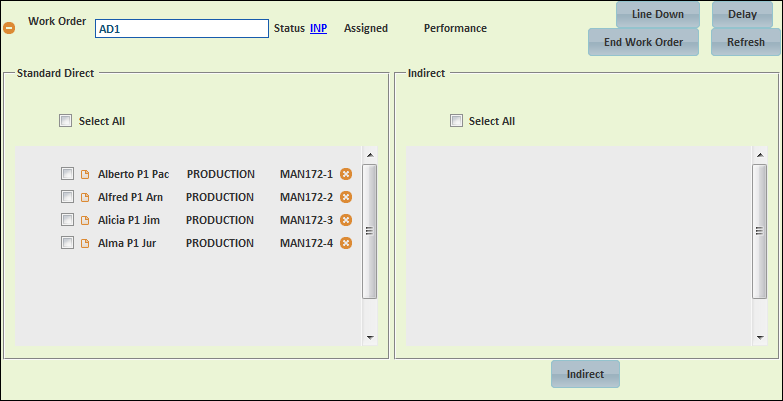
Fig.6 Control Screen - Adding Employees to Standard Direct
Adding Employees To Indirect Activity
- Select and drag employee(s) from the right side of the screen into the Indirect section of the work order and a popup will appear.
- Select the indirect activity from the drop down list and click Select.
- Assignment IDs will be auto generated for each employee and will begin with OTH.
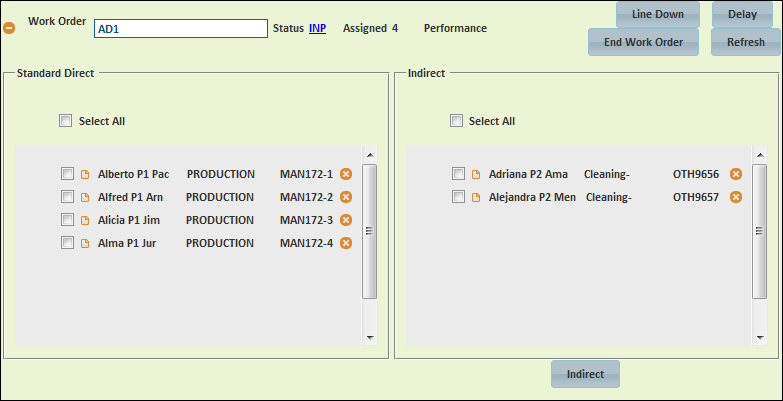
Fig.7 Control Screen - Adding Employees to Indirect
Removing An Employee From Work Order
- Expand the kiosk and search for the work order.
- Search for the employee and click
 to the right of the assignment ID.
 - Employee will be removed from the work order and placed back into the Unassigned section.
Overview
Content Tools